2026-09-07 · 💧 Irrigation

Drip Irrigation System Design for Small Farms: A Step-by-Step Guide
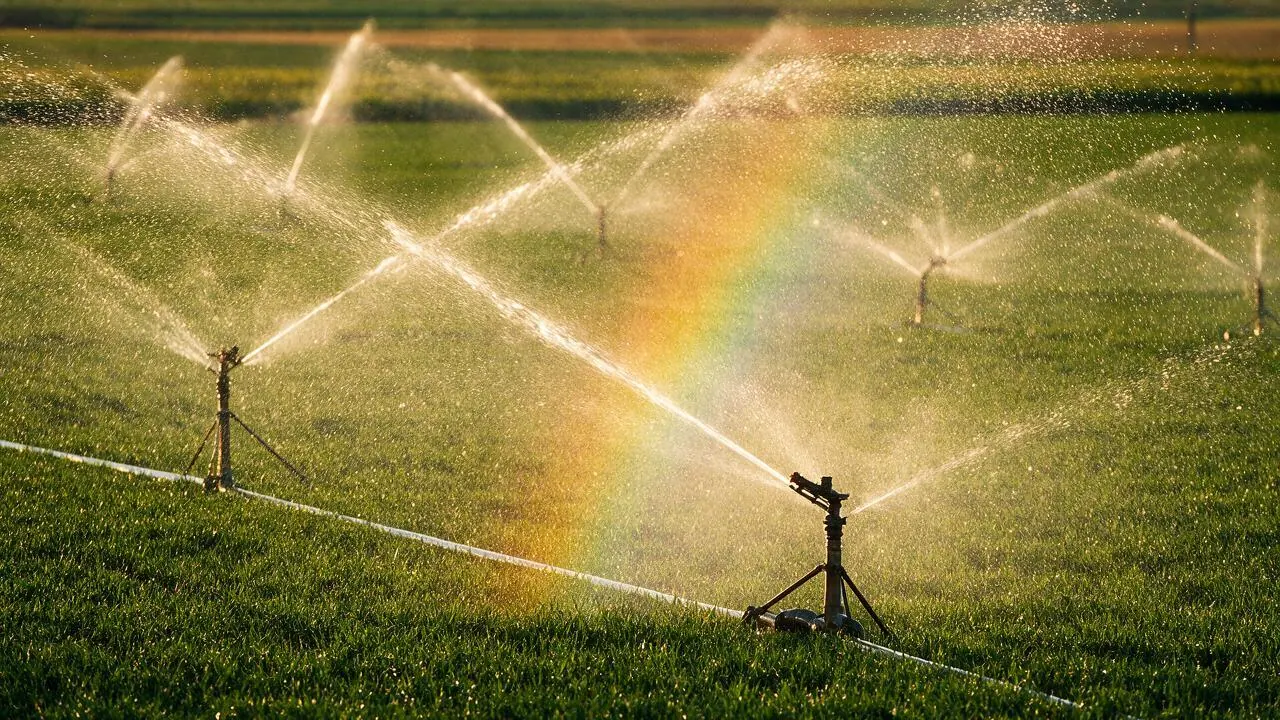
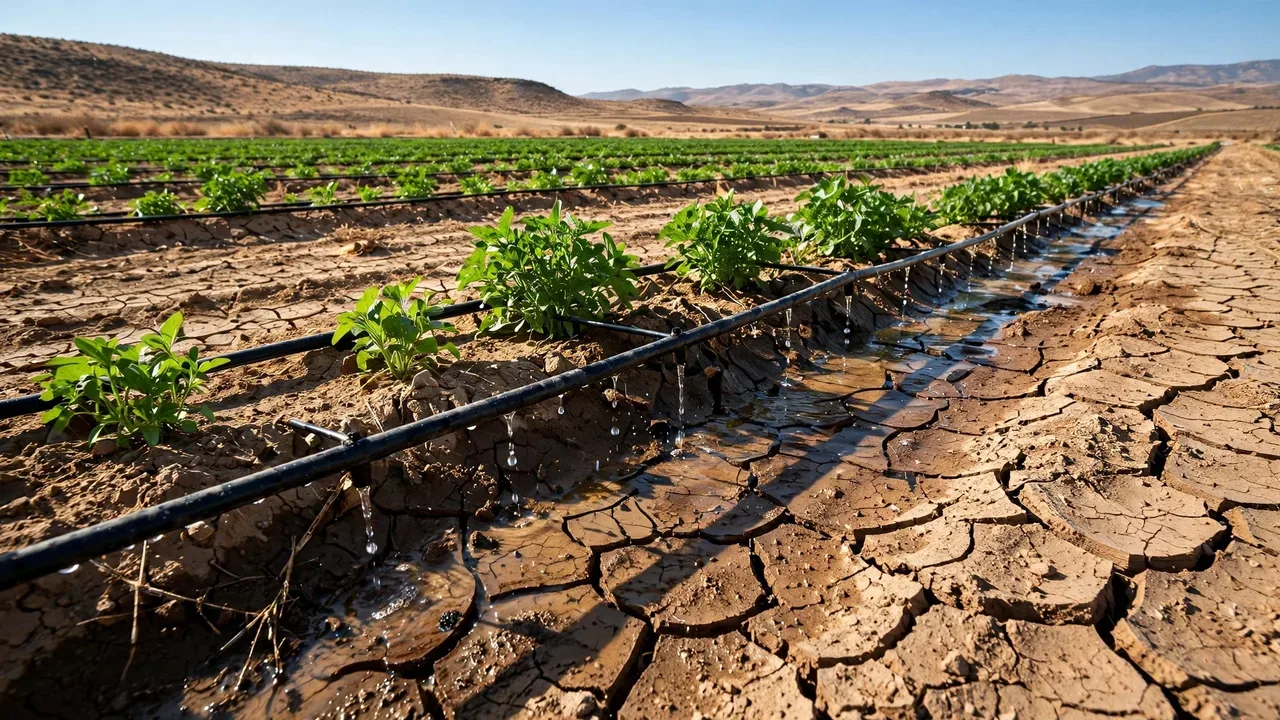
Drip irrigation is the most water-efficient method available to small-scale farmers, delivering 90-95% of applied water directly to plant root zones compared to 60-70% for sprinklers and 40-50% for flood irrigation. For a 2-acre vegetable farm, that can mean saving over 500,000 gallons of water per growing season while increasing yields by 20-40%. This guide walks you through designing a complete drip system from scratch.

Step 1: Assess Your Water Source and Supply

Before buying any components, you must know how much water you have and at what pressure. Measure your flow rate by timing how long it takes to fill a 5-gallon bucket from your source — if it takes 30 seconds, your flow rate is 10 gallons per minute (GPM). A typical 1-acre vegetable plot needs roughly 5-8 GPM for a well-designed drip system. Also test water pressure with a cheap pressure gauge; most drip systems operate best at 15-25 PSI at the emitter. If your source exceeds 30 PSI, you will need a pressure regulator.

Water quality matters too. Test for pH, dissolved solids, and iron or calcium content. Water with high mineral content will clog emitters over time, requiring filtration (120-200 mesh screen filters are standard) and occasional acid flushing.

Step 2: Map Your Field and Crop Layout

Draw your field to scale, marking rows, plant spacing, and any obstacles (trees, buildings, slopes). Drip systems are designed around crop geometry: row crops like tomatoes use inline drip tape with emitters every 12-18 inches, while orchards use individual micro-sprinklers or point-source emitters at each tree. For a 100-foot row of tomatoes spaced 24 inches apart, you would need drip tape with 12-inch emitter spacing running the full length of each row.

Calculate total row length: if you have 30 rows at 100 feet each, that is 3,000 feet of drip line. This number drives every subsequent calculation — tubing length, emitter count, total flow demand, and pump sizing.

Step 3: Select Emitters and Drip Line

Emitter flow rate is measured in gallons per hour (GPH). Common options are 0.5 GPH (for sandy soils or close spacing), 1.0 GPH (most versatile), and 2.0 GPH (for clay soils or widely spaced plants). For a typical loam soil with vegetable rows, 0.5-1.0 GPH emitters at 12-inch spacing is standard. Drip tape (thin-walled, seasonal) costs $0.02-0.05 per foot and lasts 1-3 seasons, while drip tubing (thick-walled, permanent) costs $0.10-0.25 per foot and lasts 10+ years.

Pressure-compensating emitters are worth the extra cost on sloped ground or long rows (over 300 feet), as they maintain consistent flow regardless of pressure variations. For a 3,000-foot system with 12-inch spacing and 0.5 GPH emitters, you have 3,000 emitters delivering a total of 1,500 GPH or 25 GPM — which must match or be below your source capacity.

Step 4: Design the Mainline and Submain Layout

The mainline carries water from the source to the field; submains distribute it to individual drip rows. Use larger-diameter pipe for mainlines (1-2 inch PVC or polyethylene) to minimize friction loss. As a rule of thumb, limit velocity to 5 feet per second — a 1-inch pipe can safely carry about 15 GPM, a 1.5-inch pipe about 35 GPM. For our 25 GPM example, a 1.5-inch mainline is appropriate.

Submains run perpendicular to crop rows, with each drip row connected via a small valve or take-off fitting. Zone your field into manageable irrigation blocks — each zone should require no more than 70-80% of your available flow rate, leaving margin for pressure fluctuations. A 25 GPM source could run two zones of 12 GPM each on alternating days.

Step 5: Calculate Run Times and Irrigation Schedule

To determine how long to run your system, you need your crop's daily water requirement. A mature tomato plant in peak summer uses about 0.25 inches of water per day. For a 100-foot row with plants every 24 inches (50 plants), that is roughly 39 gallons per day per row. With 0.5 GPH emitters at 12-inch spacing (100 emitters per row delivering 50 GPH), you need about 47 minutes of runtime per day. Split into two 24-minute sessions (morning and late afternoon) to reduce runoff on heavier soils.

Use our Irrigation Calculator to compute exact run times based on your crop, soil type, and climate, and our Drip System Designer to map your layout and generate a complete parts list with flow calculations.

Step 6: Budget and Component List

A complete drip system for 1 acre typically costs $1,200-$2,500 installed, depending on whether you use drip tape or permanent tubing. Major cost categories: drip line/tape ($300-$800), mainline and fittings ($200-$500), filter and pressure regulator ($80-$200), pump (if needed, $200-$800), valves and controller ($100-$300). Most small farms recover the investment within 1-2 growing seasons through water savings and yield increases.

Maintenance and Seasonal Care

A well-designed drip system requires regular maintenance to perform at peak efficiency. At the start of each season, flush all mainlines and submains for 5-10 minutes to remove sediment that accumulated over winter. Check each row for clogged emitters — a fully clogged emitter creates a dry spot that stunts nearby plants. Inject a chlorine or acid solution (100-200 ppm chlorine for 30-60 minutes) once or twice per season to dissolve biofilm and mineral deposits inside the tubing. At season end, drain all lines to prevent freeze damage, and store drip tape indoors or under cover to extend its life. Spending 30 minutes per week on system inspection can prevent costly mid-season failures that cost days of yield.

🔧 Related Tools

Design and calculate your drip irrigation system with these free tools.

Drip System Designer →Irrigation Calculator →

Frequently Asked Questions

How much does a drip irrigation system cost per acre?

A drip irrigation system for 1 acre costs $1,200-$2,500 on average. Drip tape systems are at the lower end ($1,200-$1,500), while permanent thick-walled tubing with automated controllers can reach $2,000-$2,500. Pumps, if needed, add $200-$800.

What pressure do drip emitters need?

Most drip emitters operate at 15-25 PSI. If your water source pressure exceeds 30 PSI, install a pressure regulator downstream of the filter. Low-pressure drip tape can operate at 8-12 PSI but is more prone to clogging and uneven distribution.

How long can a drip line run be?

Non-pressure-compensating drip line should not exceed 300 feet per run to maintain uniform emitter flow. Pressure-compensating emitters can handle runs up to 600-800 feet. Always flush the far end of each row at least once per season to remove sediment.

Can I use drip irrigation on a slope?

Yes, but use pressure-compensating emitters and run rows along the contour (horizontally) rather than up and down the slope. Limit elevation change per zone to 10-15 feet; steeper slopes may require separate zones or pressure regulators at different elevations.