Drip Irrigation Design: A Complete Guide
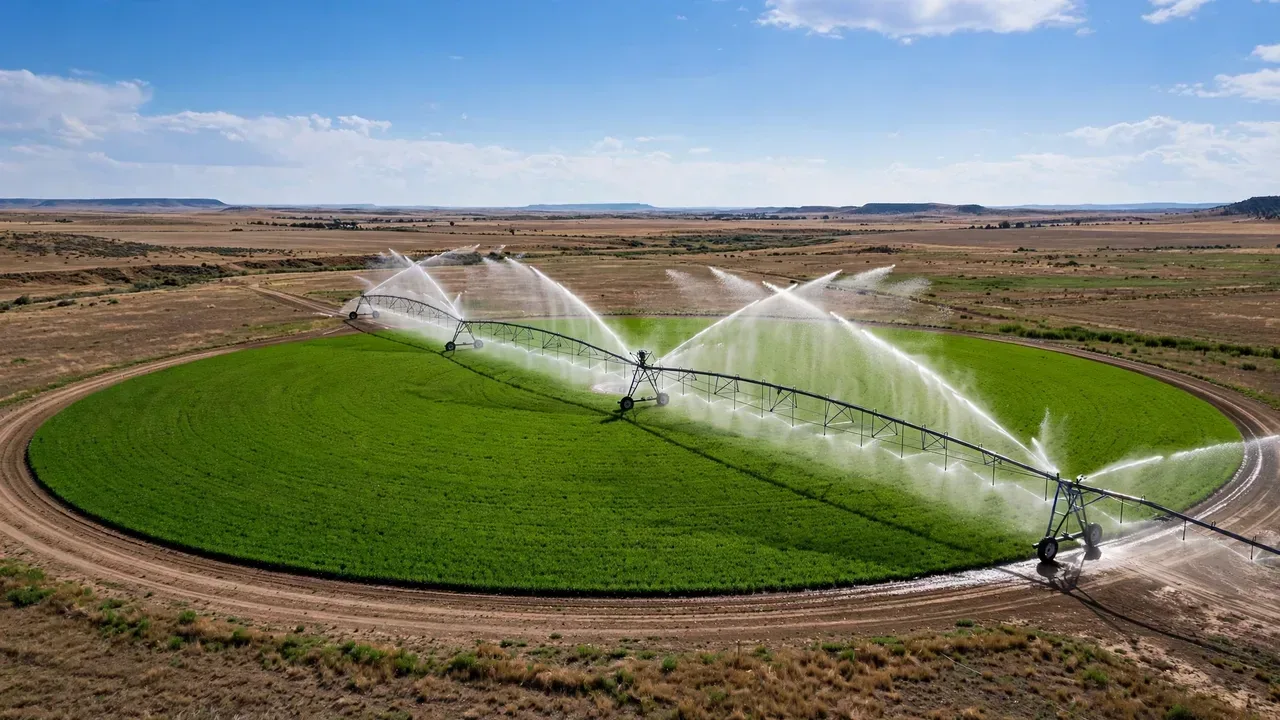
Drip irrigation delivers water directly to plant roots through emitters at 90-95% efficiency, compared to 70-80% for sprinklers and 50-70% for flood irrigation. A properly designedrip system reduces water use by 30-60%, lowers fertilizer costs through fertigation, and increases yields by 10-30%. This guide coversystem design, component selection, installation, and maintenance.
How Drip Irrigation Works
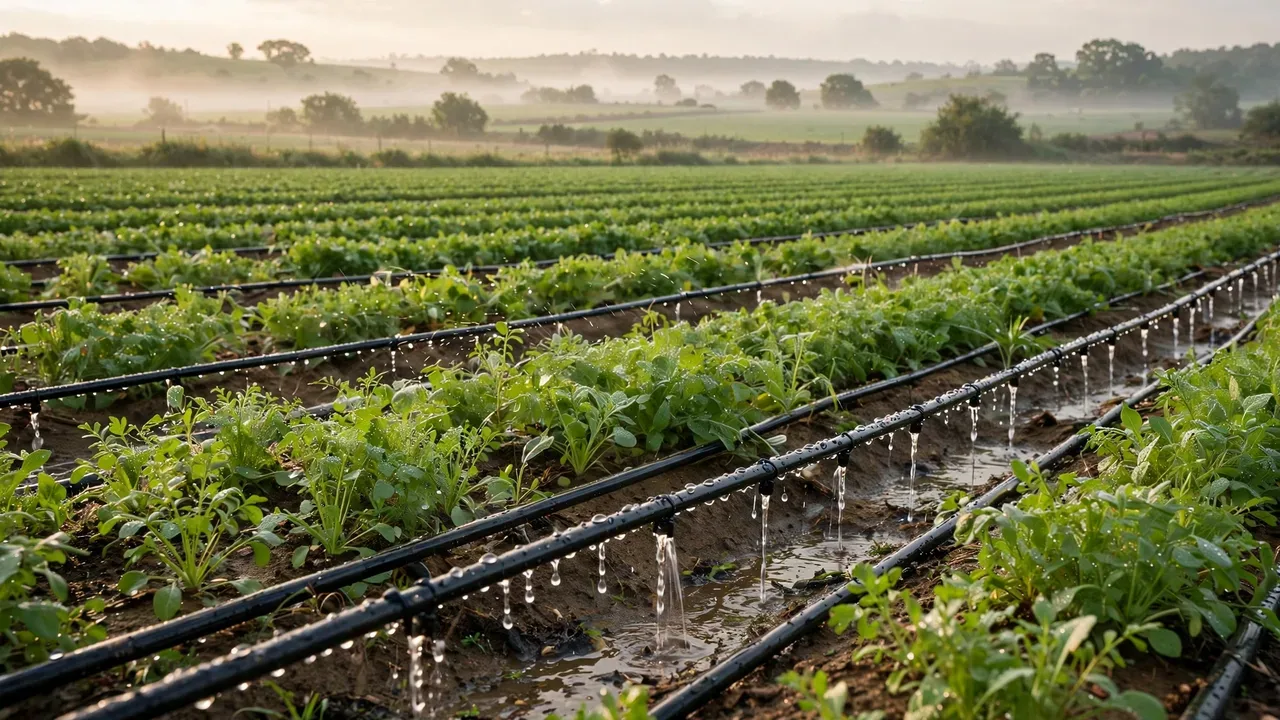
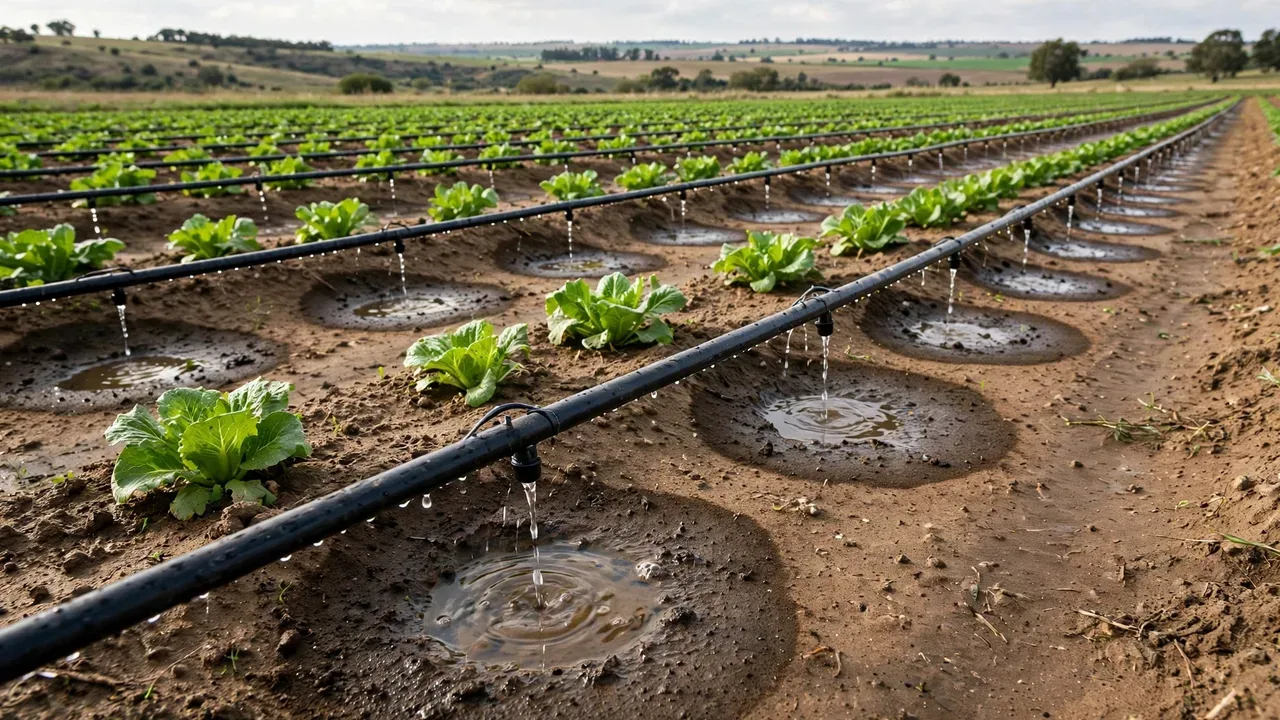
Drip irrigation (also called trickle or micro-irrigation) delivers water slowly and directly to the root zone through small emitterspaced along polyethylene tubing. Water is applied at a rate matched to crop water needs, minimizing evaporation, runoff, andeepercolation. The system can also deliver fertilizer (fertigation) and pest control products withe water, improving efficiency and reducing labor. Ce guide couvre conception irrigation goutte-à-goutte et les calculs agricoles associés pour vous aider à optimiser les opérations de votre ferme.
System Components
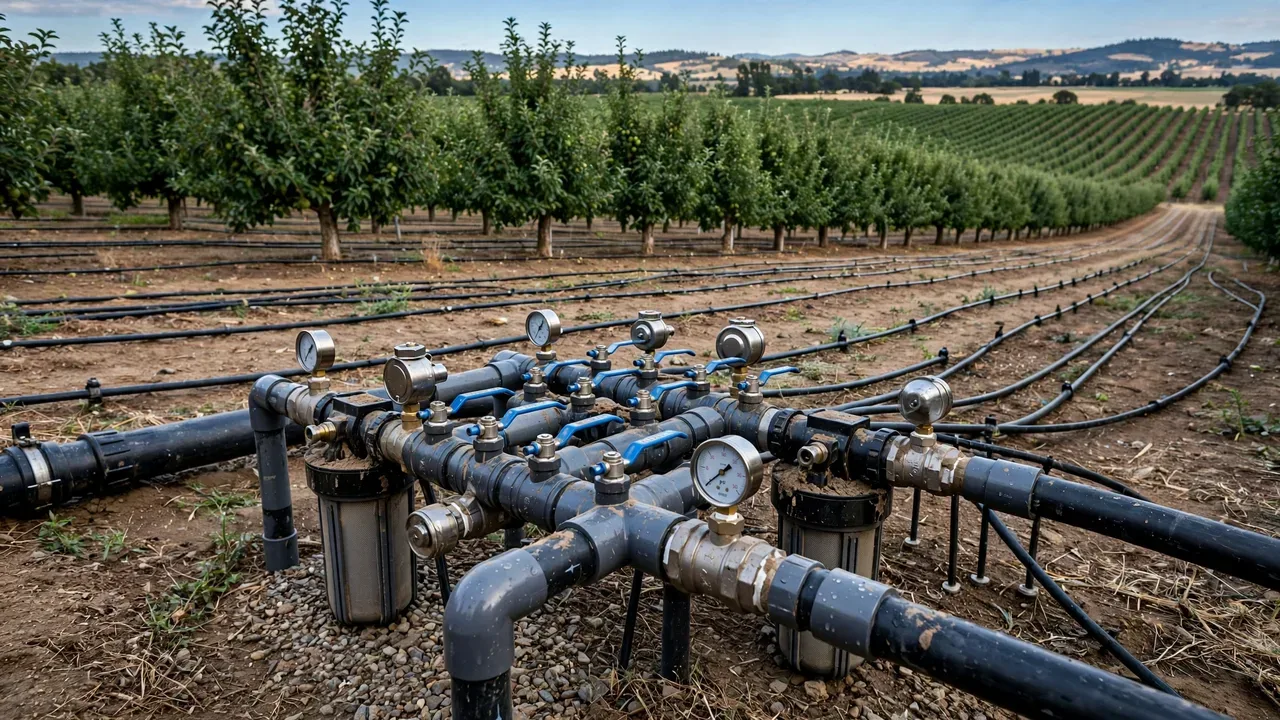
Headworks (Control Unit)
- Pump or water source: Provides pressure (10-20 psi for drip). Can be municipal water, well pump, or gravity tank (minimum 3m head for low-pressure systems).
- Filter: Essential to prevent emitter clogging. Screen filter (100-150 mesh) for clean water, media/sand filter for surface water, disc filter for general use. Filter every system — even "clean" water has particles.
- Pressuregulator: Maintains constant pressure (10-15 psi typical) despite fluctuations. Protects emitters and tubing from damage.
- Flow meter: Measures water applied. Essential for irrigation scheduling and leak detection.
- Controller/timer: Automates irrigation scheduling. Battery-operated ($50-150) or AC-powered with multiple zones ($150-500).
- Fertilizer injector: Venturinjector ($30-100) or proportional pump ($200-800) for fertigation.
- Backflow preventer: Required by code when connected to potable water. Prevents contaminated water from flowing back into the water supply.
Distribution Network
- Mainline: Larger diameter PVC or HDPE pipe (1-4 inches) from water source to zones. Buried 30-60cm deep.
- Submain: Medium diameter pipe feeding multiple drip lines. Often flexible LDPE.
- Drip line/lateral: Thin-walled polyethylene tubing (12-20mm diameter) with built-in emitters. Laid along crop rows. Thin-wall (0.15-0.2mm) for seasonal crops, thick-wall (0.3-0.6mm) for permanent crops.
- Emitters: Built into drip line (integral) or punched in separately (point-source). Flow rates: 0.5-4 L/hour per emitter. Pressure-compensating (PC) emitters maintain uniform flow on slopes and long runs.
- Valves: Solenoid valves ($30-80 each) for automatic zone control, or manual ball valves. One valve per irrigation zone.
Design Steps
Step 1: Determine Water Supply
- Measure flow rate (GPM or LPM) of your water source — this determines how many zones you need
- Check water pressure (PSI/bar) — drip needs 10-20 PSI (0.7-1.4 bar)
- Test water quality — pH, EC, hardness, iron, sediment. Poor water may need filtration or treatment
- Calculate available water per day (flow rate × hours available)
Step 2: Calculate Crop Water Need
Use our Crop Water Requirement Calculator to determine daily water needs. For design, use peak ET (mid-season, hottest month). Example: corn at peak uses 6 mm/day on 1 hectare = 60,000 liters/day. If your water source delivers 20 L/min (1,200 L/hour), you need 50 hours of irrigation per day — impossible with one zone. You need multiple zones or a larger water source.
Step 3: Design Zones
- Divide field into zones based on water availability, crop type, and topography
- Each zone should operate within available flow rate and pressure
- Maximum lateralength: 50-100m for 16mm tubing, 100-200m for 20mm tubing (depends on flow and slope)
- Maximum number of emitters per zone: total flow ≤ available flow × 0.9 (safety margin)
- Grouplants with similar water needs in the same zone
Step 4: Select Emitter Spacing and Flow
| Crop | Emitter Spacing | Flow Rate | Line Spacing |
|---|---|---|---|
| Vegetables (row) | 20-40 cm | 1-2 L/h | 1-1.5 m (per row) |
| Corn | 30-50 cm | 1-2 L/h | 0.75-1 m |
| Orchard trees | 1-2 m | 2-4 L/h | per tree row |
| Vineyard | 0.5-1 m | 1-2 L/h | per vine row |
| Strawberry | 20-30 cm | 0.5-1 L/h | 0.3-0.5 m (2 lines/bed) |
| Greenhouse beds | 20-30 cm | 1-2 L/h | 0.4-0.6 m |
Step 5: Calculate Irrigation Duration
Irrigation duration (hours) = Daily water need (L) ÷ (Emitter flow (L/h) × Number of emitters × System efficiency). Example: 1 ha corn, 6 mm/day = 60,000 L/day. Drip line with 2 L/h emitters every 40cm, 1m line spacing = 25,000 emitters/ha. Total flow = 50,000 L/h. Duration = 60,000 ÷ 50,000 = 1.2 hours/day. Use our Irrigation Calculator for precise scheduling.
Installation Tips
- Flush all lines before connecting emitters: Dirt and pipe shavings clog emitters. Run water through mains and submains for 5-10 minutes before connecting drip lines.
- Install flush valves athend of each lateral: Open monthly to flush sediment. This the #1 maintenance task for drip systems.
- Use pressure-compensating emitters on slopes: Non-PC emitters have uneven flow on slopes (top gets less, bottom gets more). PC emitters cost 20-30% more but save water and ensure uniform crop growth.
- Protectubing from UV: Black tubing resists UV better than clear. Bury or mulch over tubing for permanent installations. Thin-wall seasonal tubing lasts 1-3 seasons; thick-wallasts 5-10 years.
- Install a filter bypass: Allows cleaning the filter without shutting down the system. Check and clean filter weekly (or after heavy water use).
- Use rat guards on buried lines: Gophers and rats chew through tubing. Install metal mesh or use tubing with rat-resistant additives.
Maintenance Schedule
| Frequency | Task |
|---|---|
| Daily | Check controller, flow meter, pressure gauge. Look for wet spots (leaks). |
| Weekly | Clean filter. Check emitters for uniform wetting. Flush laterals if needed. |
| Monthly | Flush all laterals (opend caps for 2-3 minutes). Check for clogged emitters. Test water pH and EC. |
| Seasonal (start) | Replace battery in controller. Check all valves. Flush entire system. Test each zone. |
| Seasonal (end) | Drain lines (freeze protection). Remove and store thin-wall tubing. Clean and store filters. Record system performance. |
| Annually | Check pumperformance. Calibrate flow meter. Inspect mainline for leaks. Replace worn tubing/emitters. |
Common Problems and Solutions
- Clogged emitters: Cause: poor filtration, mineral precipitation, algae. Solution: improve filtration, flush regularly, inject acid (for mineral) or chlorine (for algae). Replace clogged emitters.
- Uneven watering: Cause: pressure variation, slope, clogged emitters, too-long laterals. Solution: pressuregulator, PC emitters, shorter laterals, flush system.
- Leaks: Cause: rodent damage, UV degradation, poor connections, high pressure. Solution: repair with couplers, replace damaged tubing, install pressuregulator, use rodent-resistantubing.
- Salt buildup: Cause: high-salinity water, insufficient leaching. Solution: apply extra water (10-20% leaching fraction), periodically flush with excess water, test soil salinity.
- Root intrusion: Cause: roots grow into emitters seeking water. Solution: use root-barrier emitters, apply copper-based root inhibitor, maintain proper watering schedule.
Design your drip system: Use our Crop Water Requirement Calculator for water needs, Irrigation Calculator for scheduling, Area Converter for field measurements, and Farm Budget Calculator to estimate system costs and ROI.
Cost Estimates
| System Type | Cost per Hectare | Lifespan | Best For |
|---|---|---|---|
| Low-cost thin-wall (seasonal) | $500-1,500 | 1-3 seasons | Row crops, vegetables, small farms |
| Medium-costhick-wall | $2,000-5,000 | 5-10 years | Vegetables, strawberries, orchards |
| High-cost permanent (PC emitters) | $5,000-15,000 | 10-20 years | Orchards, vineyards, high-value crops |
| Greenhouse drip | $3,000-8,000/ha | 5-10 years | Greenhouse vegetables, herbs |
Most drip systems pay for themselves in 1-3 years through water savings, reduced labor, and increased yields. Government cost-sharing programs (EQIP, state programs) often cover 50-75% of installation costs for qualifying farms.
Questions Fréquentes
Comment calculer les besoins en eau pour un système d'irrigation goutte-à-goutte?
Calculez le besoin hydrique de la culture avec: ETc = ETo × Kc, où ETo est l'évapotranspiration de référence (station météo locale) et Kc le coefficient cultural (varie par stade: 0,3-0,5 initial, 0,8-1,2 mi-saison, 0,6-0,8 final). Pour une tomate en mi-saison avec ETo = 6 mm/jour et Kc = 1,1: ETc = 6,6 mm/jour. Ajustez pour l'efficacité (goutte-à-goutte = 90-95%): Eau nette = ETc / efficacité. Tenez compte de la pluie efficace: soustrayez la pluie du besoin. Utilisez un calculateur de besoin hydrique pour déterminer les besoins journaliers, hebdomadaires et saisonniers.
Quel débit et espacement de goutteurs faut-il pour l'irrigation goutte-à-goutte?
La sélection dépend du type de culture, de la texture du sol et de la disponibilité en eau. Pour cultures en lignes (maraîchage, fraises): goutteurs 0,5-1,0 GPH (2-4 L/h) espacés de 30-60 cm, avec une ligne par 2-4 rangs. Pour vergers/vignobles: goutteurs 1-4 GPH (4-16 L/h), 2-4 goutteurs par arbre/vigne, placés pour couvrir 30-50% de la zone racinaire. Pour sols sableux: espacement plus rapproché (30 cm) et débits plus élevés; pour sols argileux: espacement plus large (60-90 cm) et débits plus faibles pour éviter le ruissellement. Utilisez un calculateur concepteur de système goutte-à-goutte.
Comment dimensionner les tuyaux et la pompe pour l'irrigation goutte-à-goutte?
Dimensionnement des tuyaux: Calculez le débit total (GPM) = nombre de goutteurs × débit par goutteur (GPH) / 60. Pour 1 000 goutteurs à 1 GPH: 1 000 × 1 / 60 = 16,7 GPM. Dimensionnez les conduites principales et secondaires pour maintenir la vitesse <1,5 m/s et la perte de charge <5-10% de la pression de service. Utilisez l'équation de Hazen-Williams ou un calculateur concepteur. Dimensionnement de la pompe: Pression requise = pression de service des goutteurs (typiquement 10-25 PSI) + pertes de charge + dénivelé + perte du filtre (5-10 PSI) + marge de sécurité. Débit = GPM total du système. Utilisez un calculateur de pompe d'irrigation.
Comment calculer le temps d'irrigation pour les systèmes goutte-à-goutte?
Formule: Temps (min) = (Profondeur souhaitée (mm) × Surface par goutteur (m²) × 1000) / (Débit du goutteur (L/h) × 60). Exemple: 2 goutteurs/m² à 2 L/h, appliquant 10 mm: (10 × 0,5 × 1000) / (2 × 60) = 41,7 minutes. Ajustez pour le taux d'infiltration du sol (ne pas le dépasser pour éviter le ruissellement), appliquez en fractions sur sols lourds, et utilisez un calculateur de temps d'irrigation pour une programmation précise. Surveillez l'humidité du sol pour valider et ajuster les temps.
Quelle filtration faut-il pour l'irrigation goutte-à-goutte et comment l'entretenir?
La filtration est critique — le colmatage des goutteurs est le problème de maintenance n°1. Niveau requis selon la source: Eau de surface (étang, canal, rivière): filtre à maille ou disque 100-150 microns, plus filtre à sable pour les algues et la matière organique. Eau de puits: filtre à maille 150-200 microns (75-100 microns). Eau municipale: filtre à maille 200 microns. Entretien: Nettoyez les filtres chaque semaine (maille) ou rétrolavez quotidiennement (sable). Nettoyez les mailles avec une brosse douce — jamais de brosse métallique. Remplacez les mailles endommagées. Installez des manomètres avant et après le filtre — une différence >5 PSI indique un nettoyage nécessaire. Utilisez un filtre dimensionné pour 2x le débit de pointe.
Comment prévenir et réparer le colmatage des goutteurs en irrigation goutte-à-goutte?
Causes de colmatage: physiques (sable, limon, débris organiques), chimiques (précipitation de calcium, fer, manganèse par injection d'engrais), biologiques (algues, boues bactériennes, biofilm). Prévention: Filtration adaptée, rinçage régulier des lignes latérales (2-4 fois par saison, ou mensuel en usage intensif), injection d'acide (phosphorique ou nitrique à pH 5,5-6,0 pour dissoudre les précipités minéraux, 1-2 fois par saison), injection de chlore (1-2 ppm de chlore libre pour la croissance biologique, mensuel), et évitez d'injecter des engrais incompatibles (ex: calcium + phosphate = précipitation). Réparation: Pour les goutteurs colmatés, rincez d'abord les latérales, puis traitement acide/chlore. Les goutteurs sévèrement colmatés peuvent nécessiter un remplacement. Utilisez un concepteur goutte-à-goutte pour planifier les points d'entretien.