Soil Testing and Interpretation: A Complete Guide
Why Soil Testing Is Essential
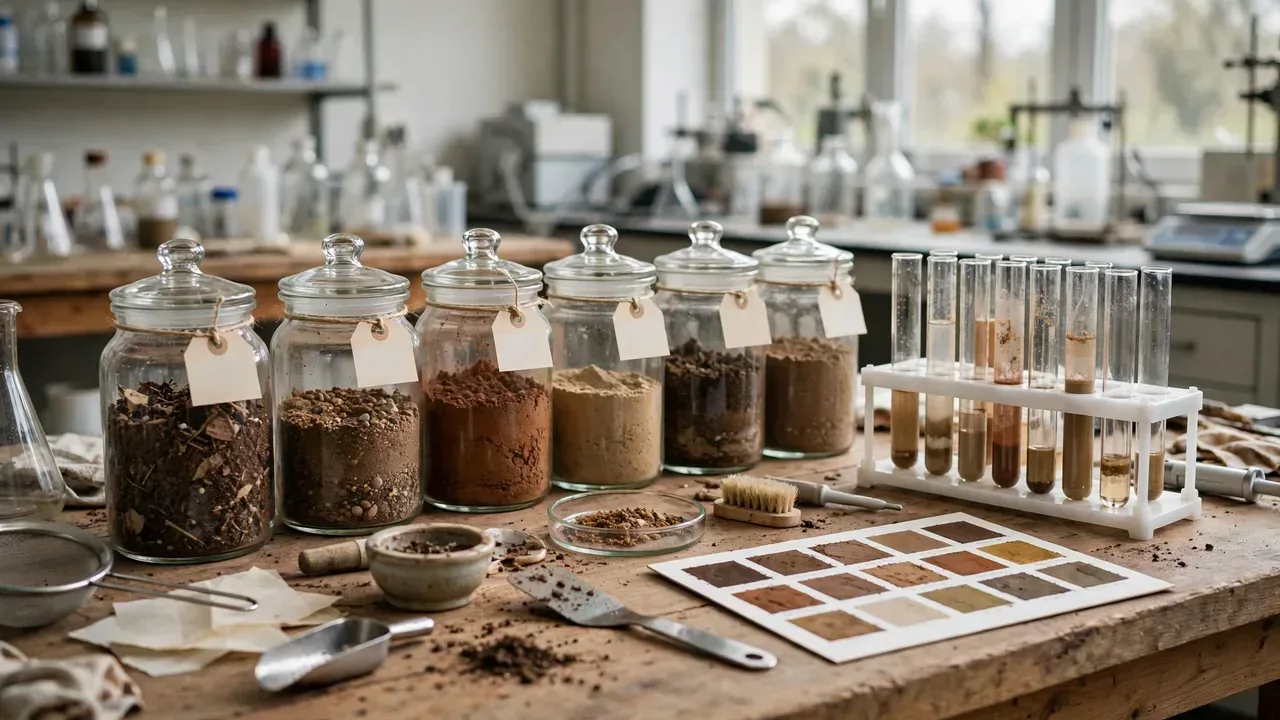
Soil testing is the foundation of informed nutrient management. Without accurate soil analysis, fertilizer applications are guesswork—either wasting money on unnecessary inputs or limiting yields due to nutrient deficiencies. A comprehensive soil test reveals your soil's nutrient status, pH level, organic matter content, and cation exchange capacity, providing the data needed to make precise fertilizer recommendations.
Regular soil testing every 2-3 years allows you to track changes in soil fertility over time, evaluate the effectiveness of your management practices, and adjust your fertilization program accordingly. For high-value crops or intensively managed fields, annual testing may be warranted. Soil testing is particularly important before establishing new plantings, when changing crop types, or when poor growth suggests a nutrient problem.
Types of Soil Tests
Routine soil analysis typically includes pH, buffer pH (for lime requirement), organic matter, phosphorus, potassium, calcium, magnesium, and cation exchange capacity. These core measurements provide a solid foundation for most fertilization decisions. Many labs also offer optional tests for sulfur, zinc, manganese, iron, copper, boron, and other micronutrients when specific deficiencies are suspected.
Specialized tests include the saturated paste extract for salinity and sodium adsorption ratio (important in arid regions), the Solvita test for microbial activity and nitrogen mineralization potential, and the Haney test for a more comprehensive assessment of soil health. Plant tissue analysis complements soil testing by revealing what nutrients the plant is actually taking up, which can identify issues like nutrient imbalances or uptake problems despite adequate soil levels.
Sampling Methods and Best Practices
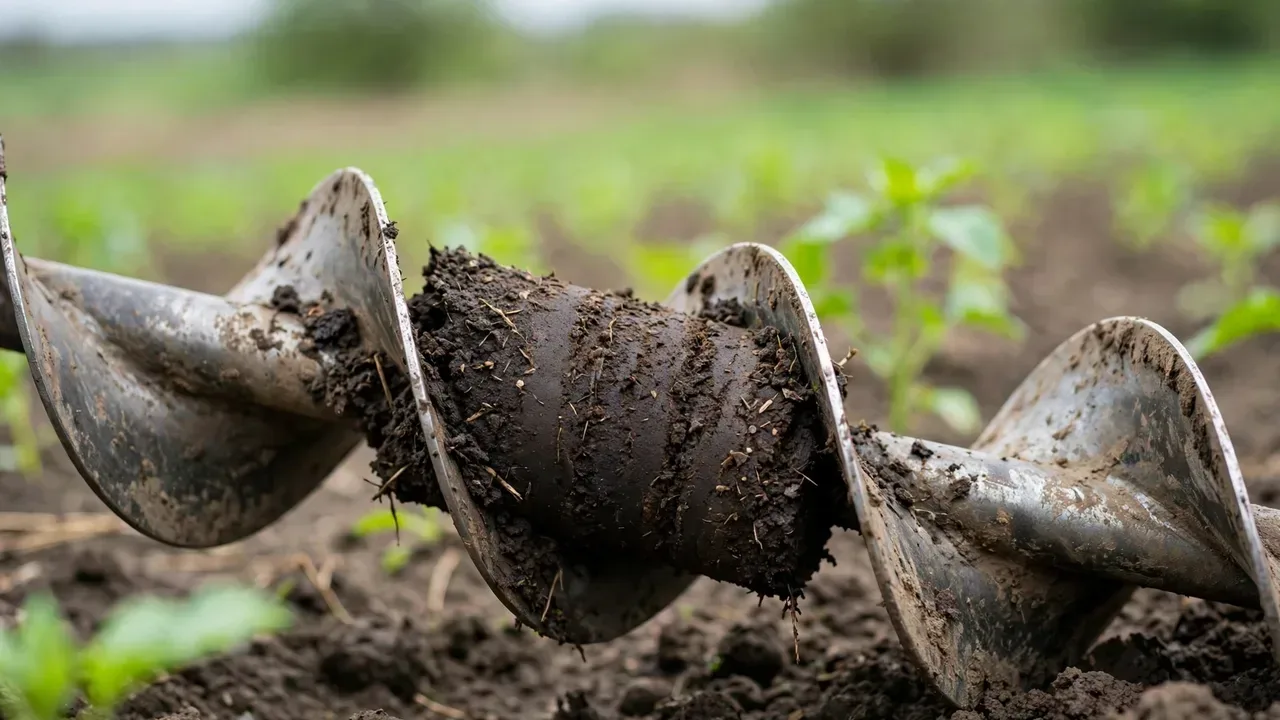
Proper sampling technique is critical for accurate results. Use a clean soil probe or auger to collect cores to the appropriate depth—typically 6-8 inches for row crops and gardens, 4-6 inches for established pastures, and 0-6 and 6-12 inch depths for nitrogen recommendations in some systems. Avoid sampling in unusual areas like old fence rows, fertilizer bands, or areas near tree lines unless you specifically want to analyze those zones.
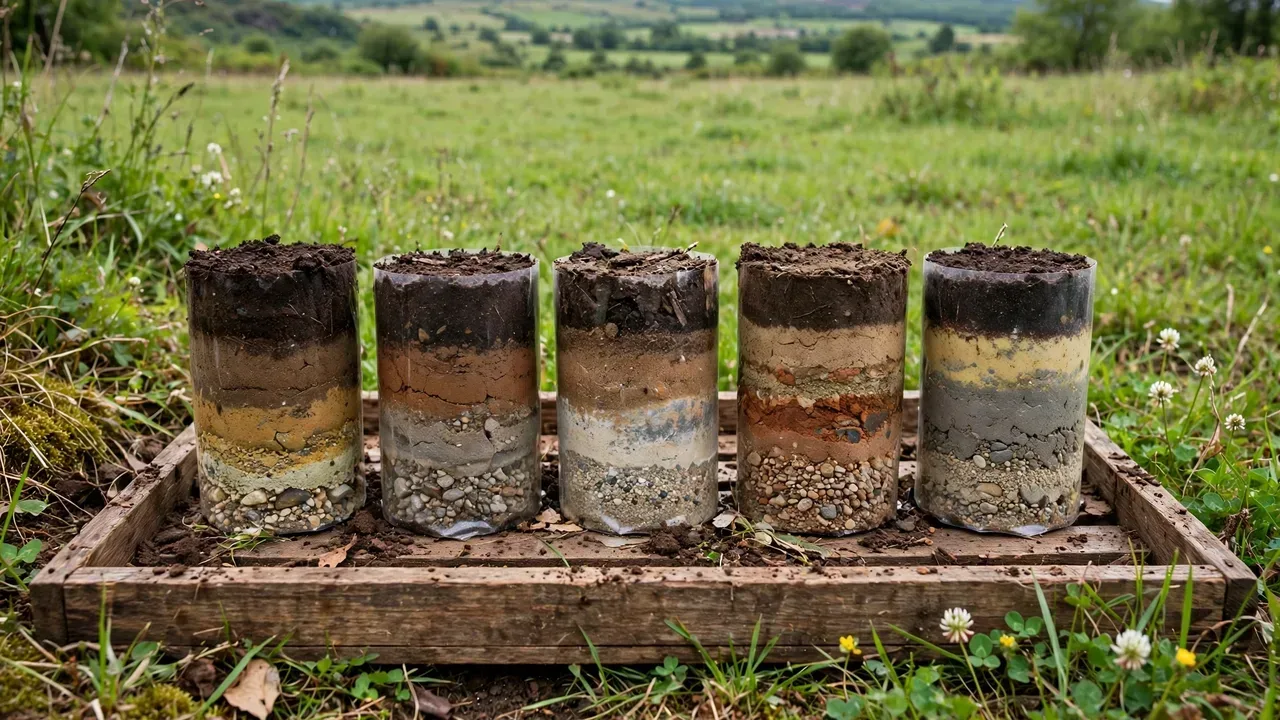
For each sampling area, collect 15-20 cores in a zigzag pattern and combine them in a clean bucket to form a composite sample. This averaging reduces the influence of natural soil variability. Thoroughly mix the composite, remove rocks and debris, and take a 1-2 cup subsample for submission. Sample each distinct soil type, management zone, or problem area separately. Avoid sampling when soil is extremely wet, and wait at least 4-6 weeks after lime or fertilizer application before testing.
Interpreting Soil Test Results
Soil test reports can seem overwhelming at first, but understanding a few key concepts makes interpretation straightforward. Results are typically reported as parts per million (ppm) or pounds per acre, along with a rating category like Very Low, Low, Medium, Optimum, High, or Very High. These ratings indicate the likelihood of a crop response to additional nutrient application—Low and Very Low ratings mean a strong response is expected, while Optimum means additional fertilizer is unlikely to increase yield.
pH is one of the most important measurements because it controls nutrient availability. Most crops prefer pH 6.0-7.0. Below pH 5.5, aluminum and manganese can become toxic, while phosphorus and molybdenum become unavailable. Above pH 7.5, iron, zinc, manganese, and copper may become unavailable. The buffer pH or lime requirement test tells you how much lime is needed to raise pH to the target level for your crop. Cation exchange capacity (CEC) indicates your soil's ability to hold nutrients—sandy soils may have CEC of 5-10, while clay soils can be 20-40 or higher.
Developing a Fertilizer Program
Once you understand your soil test results, the next step is developing a fertilizer program tailored to your crop, yield goals, and soil conditions. Most soil test reports include fertilizer recommendations based on the specific crop you indicate. These recommendations account for the nutrients already present in your soil, the crop's nutrient requirements, and typical nutrient use efficiency. Always follow the lab's recommendations rather than applying blanket rates.
Consider the timing and method of fertilizer application for maximum efficiency. Nitrogen is best applied in split applications close to when the crop needs it most, to reduce leaching and volatilization losses. Phosphorus and potassium can be applied pre-plant or in starter fertilizers. Micronutrients are often applied as foliar sprays when deficiencies are confirmed. Always calculate actual nutrient content from fertilizer analysis—for example, 100 pounds of 10-10-10 provides 10 pounds each of N, P₂O₅, and K₂O.
Common Mistakes to Avoid
One of the most common mistakes is sampling too shallow or too deep, which gives an inaccurate picture of the root zone. Another frequent error is collecting too few cores per composite sample, increasing variability and reducing result reliability. Always collect 15-20 cores per sampling area, even for small gardens.
Failing to account for previous management can lead to incorrect recommendations. If you recently applied manure, compost, or heavy fertilizer rates, inform the lab so they can adjust recommendations accordingly. Similarly, if you grow legumes in rotation, nitrogen credits should be considered. Finally, don't treat soil testing as a one-time event—regular testing every 2-3 years is essential for tracking trends and fine-tuning your nutrient management program over time.
Frequently Asked Questions
What are the most important numbers on a soil test report?
The five most important numbers are: (1) pH — acidity/alkalinity, target 6.0–7.0 for most crops; (2) Phosphorus (P) — ppm, critical for root growth and flowering; (3) Potassium (K) — ppm, critical for disease resistance and fruit quality; (4) Organic matter (OM) — %, drives soil health and nutrient release; (5) Cation Exchange Capacity (CEC) — meq/100g, indicates nutrient holding capacity. Also check calcium (Ca), magnesium (Mg), and buffer pH (for lime calculation). Focus on these first — micronutrients are secondary unless you see deficiency symptoms.
How do I convert soil test ppm to fertilizer pounds per acre?
Quick conversions: For phosphorus: 1 ppm Bray-1 P ≈ 2 lb/acre P₂O₅ equivalent. If your test shows 10 ppm P (Low) and your crop needs 40 lb P₂O₅/acre, apply the full 40 lb. If test shows 30 ppm (High), apply 0–10 lb. For potassium: 1 ppm exchangeable K ≈ 2 lb/acre K₂O equivalent. The lab's rating (Low/Medium/High/Very High) is more useful than the raw ppm — follow the lab's recommendation for your crop, or use a fertilizer calculator that converts ppm to application rates automatically.
What pH level is best and when do I need to apply lime?
Most field crops and vegetables prefer pH 6.0–7.0. Apply lime when: pH below 6.0 for most crops; pH below 6.2 for alfalfa (needs 6.5–7.0); pH below 5.5 for any crop (aluminum toxicity risk). Don't apply lime if pH is above 7.0 — it can cause micronutrient deficiencies. The amount of lime needed depends on buffer pH, soil texture, and target pH. Use a lime application rate calculator with your buffer pH for precise recommendations. Apply lime 3–6 months before planting for best results.
What does organic matter percentage tell me?
Soil organic matter (OM) is the engine of soil fertility. Interpretation: <1% = very low, degraded soil, needs cover crops and compost urgently; 1–2% = low, typical of intensively tilled soils; 2–4% = good, adequate for most crops; 4–6% = very good, high fertility and water-holding capacity; >6% = excellent, typical of undisturbed or prairie soils. Each 1% OM holds ~20,000 gallons of water per acre and releases 20–30 lb N/acre annually through mineralization. Increasing OM by 1% takes 5–10 years of consistent cover cropping, reduced tillage, and organic additions. A soil organic matter calculator helps track progress.
How do I know if my soil needs more potassium?
Potassium (K) levels: Below 50 ppm = Very Low, full K recommendation needed; 50–100 ppm = Low, 75–100% recommendation; 100–150 ppm = Medium, 50–75% recommendation; 150–200 ppm = High, 25–50% or maintenance; Above 200 ppm = Very High, no K needed. K deficiency symptoms: yellowing and necrosis along leaf margins (edges), starting with older leaves. Crops with high K demand: alfalfa, potatoes, tomatoes, soybeans, cotton. Sandy soils with low CEC are most prone to K deficiency because K leaches easily. Use a fertilizer calculator to determine exact K rates based on your test level and crop.
Can I use a soil test from one lab to follow recommendations from another?
Not directly — different labs use different extraction methods, rating scales, and recommendation philosophies. A soil testing 25 ppm P with Bray-1 method at one lab might test 18 ppm with Mehlich-3 at another. The rating categories (Low/Medium/High) also vary. Best practice: use the same lab consistently so you can compare results over time. If switching labs, submit a split sample to both for one year to establish a correlation. Always use the fertilizer recommendations from the same lab that did the analysis — their recommendations are calibrated to their extraction methods. A soil test calculator can help translate between methods if you know the conversion factors.